"Drawing Lord Ganesha is not just an artistic study of curves and values; it is an act of devotional meditation that connects the artist to centuries of Maharashtra cultural heritage."
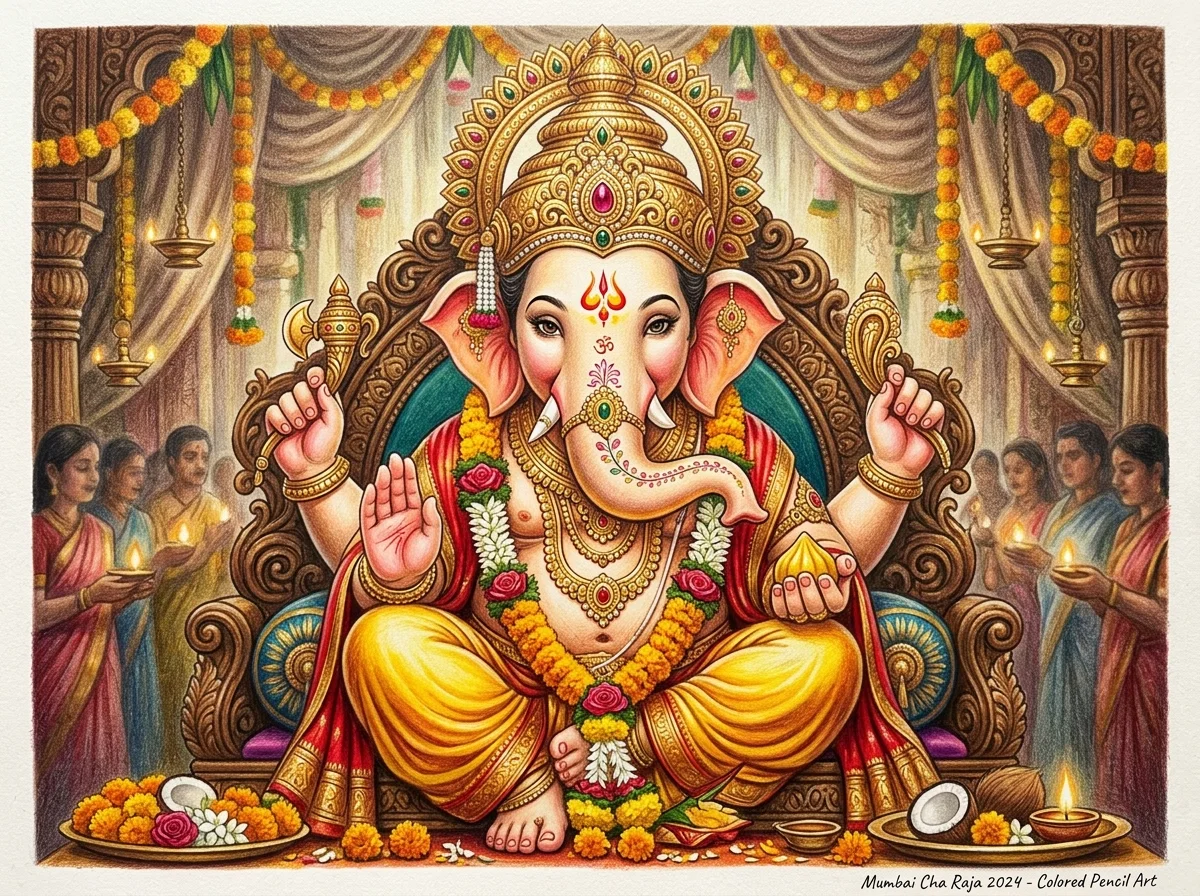
During Ganesh Chaturthi, millions across India and Mumbai celebrate the grand darshan of the iconic Mumbai Cha Raja (Ganeshgalli, Lalbaug), renowned since 1928 for its majestic, traditional clay murtis and divine regal aesthetic. For artists, students, and devotees, rendering this revered form with colored pencils requires disciplined proportional measurement, sensitive graphite groundwork, rich wax-based pigment layering, and controlled burnishing. In this comprehensive step-by-step masterclass from our Mumbai atelier, Master Artist Thangaraj walks you through the entire creative progression from initial center axis to jewel-finished masterpiece.
1. Essential Drawing & Colored Pencil Materials Checklist
Selecting the proper artist-grade drawing supplies ensures crisp line definition, effortless blending, and long-lasting archival brilliance without wax bloom or paper tearing:
- Graphite Pencils (2B, 4B, 6B): 2B for initial construction guidelines and proportional blocking, 4B for midtone anatomical shading, and 6B for deep dark creases in the crown filigree and ear shadows.
- Erasers: A soft kneaded eraser for lifting graphite and tinted wax without scratching paper tooth, plus a precision mono-zero eraser (2.3mm) for razor-sharp highlight cutouts in jewels and the sacred tilak.
- Paper: 200–250 GSM acid-free cartridge paper or heavy Bristol vellum surface, providing the exact surface tooth needed to sustain 5 to 6 heavy colored pencil pigment layers.
- Blending Tools: Tightly wound paper tortillons (blending stumps), soft chamois cloth, or odorless mineral spirits for smoothing tonal gradations on skin folds.
- Professional Artist-Grade Colored Pencils: Premium wax- or oil-based pencils (such as Prismacolor Premier or Faber-Castell Polychromos): Canary Yellow, Spanish Orange, Tuscan Red, Crimson Lake, Dark Umber, Burnt Ochre, metallic gold pencil, and a colorless wax blender / white burnishing pencil.
If you need a complete studio setup delivered to your door, explore our curated all-in-one DIY Art Kits with pre-primed surfaces, pencils, pigments, and studio accessories.
2. Step 1: Basic Proportions & Grid Outline
The secret to an authentic Mumbai Cha Raja drawing lies in the architectural hierarchy of the head and crown. Establishing accurate geometry early prevents distortion during subsequent color stages:
- Vertical Center Axis: Lightly draft a plumb line down the center of your page to balance bilateral symmetry across the forehead, crown, and torso.
- The Majestic Mukut (Crown) Block: In Mumbai Cha Raja tradition, the ornate crown commands roughly 45% of the total vertical head height. Block out an elongated, tapered arch structure with tiered filigree stages, keeping the base slightly wider than the eyebrow line.
- Face & Trunk Contour Landmarks: Sketch a broad, gentle dome for the forehead. Mark the central root where the trunk emerges. In classic Mumbai Cha Raja iconography, the trunk cascades gracefully with an elegant leftward sweep (Vamamukhi Ganesha), tapering progressively toward the tip into a delicate coil holding a golden modak or sacred lotus.
- Ear Symmetry & Wings: Position the top crest of each elephant ear level with the eyebrow line, extending horizontally to roughly 1.5 times the head width. Mark the outer wing curves and inner cartilage folds.

3. Step 2: Facial Details & Crown Shading
Before introducing colored pigments, building subtle graphite value modeling establishes volume and deepens the divine expression:
- Divine Eyes & Serene Gaze: Draw elongated, almond-shaped eyes with half-lowered lids denoting meditative grace. Add delicate double eyelid folds and gentle curved eyebrow arches.
- Sacred Tilak & Trishul: Centered exactly on the forehead above the trunk root, carefully outline the sacred Trishul (trident) and Chandrakor (crescent moon) emblems.
- Graphite Values & Shading: Using a 2B pencil, lightly shade the underside of the brow ridge, the inner ear cavities, and the rounded contours of the cheeks and trunk rings. Darken deep undercuts beneath the crown rim with a 4B pencil.
- Crown Filigree Relief: Delineate the intricate floral carvings, gem bezels, and pearl string arches across each tier of the Mukut.

4. Step 3: Layering Primary Colors & Jewels
Colored pencil realism requires a disciplined layering method. Never press hard at this stage; apply light, uniform circular strokes to preserve paper tooth for later blending:
- Warm Golden Undertones: Lay an initial wash-like foundation of Canary Yellow across the crown, jewelry, and pitambar (sacred silk dhoti). Overlap with Spanish Orange in shaded crevices to simulate glowing antique gold.
- Regal Crimson & Vermilion: Layer Tuscan Red and Crimson Lake on the ornate shawls, crown velvet inlays, and forehead tilak, creating rich textile weight.
- Complex Shading with Earth Tones: Deepen folds and metal shadows using Dark Umber and Burnt Ochre rather than flat black, creating warm, lifelike depth.
- Preserved Highlight Windows: Leave tiny pinpoint paper reserves uncolored on gem facets, pearl beads, and the crest of the trunk for natural sparkling contrast.

5. Step 4: Final Highlights & Burnishing
The final stage transforms layered wax into a luminous, painterly surface with smooth porcelain finish and gleaming jewelry accents:
- Controlled Burnishing: Using firm pressure with a colorless wax blender or a heavy white pencil, polish over the skin areas and fabric folds. This melts the wax pigment into the paper grain, eliminating white paper specks and creating photographic smoothness.
- Crisp Edge Cleanup: Use your mono-zero precision eraser to sharpen the edges around the tusk, crown filigree, and outer ear contours.
- Jewelry Sparkle & Catchlights: Apply sharp white colored pencil or opaque white gouache dots to pearls, rubies, and the eye catchlights, bringing divine life to the portrait.

Learn drawing and painting in our Dharavi studio
Master foundational drawing, classical realism, and sacred Indian iconography through direct, 1-on-1 easel guidance under Master Artist Thangaraj. Age-tailored pathways designed for every stage of artistic growth:
- • Kids (5–12 years): Observational drawing, color mixing, motor skill refinement, and creative confidence.
- • Teens & Adults (13+ years): Classical realism, academic portraiture, oil & acrylic canvas techniques, and Maharashtra Grade Exam prep.
- • Traditional Tanjore: Authentic 24K gold foil gilding, hand-sculpted gesso embossing, and sacred temple iconography.
6. Watch the Mumbai Studio Demonstration
The dedicated video recording for this colored-pencil Mumbai Cha Raja masterclass is scheduled for filming during our upcoming studio cohort. To ensure the highest standard of instruction, we feature only authentic footage matching each specific artwork and medium.
In the meantime, live in-person step-by-step demonstrations and personalized easel critiques are conducted weekly at our Dharavi studio atelier in Mumbai. Students can observe live pencil layering and burnishing techniques in real time.
7. In-Person Art Mentorship in Mumbai
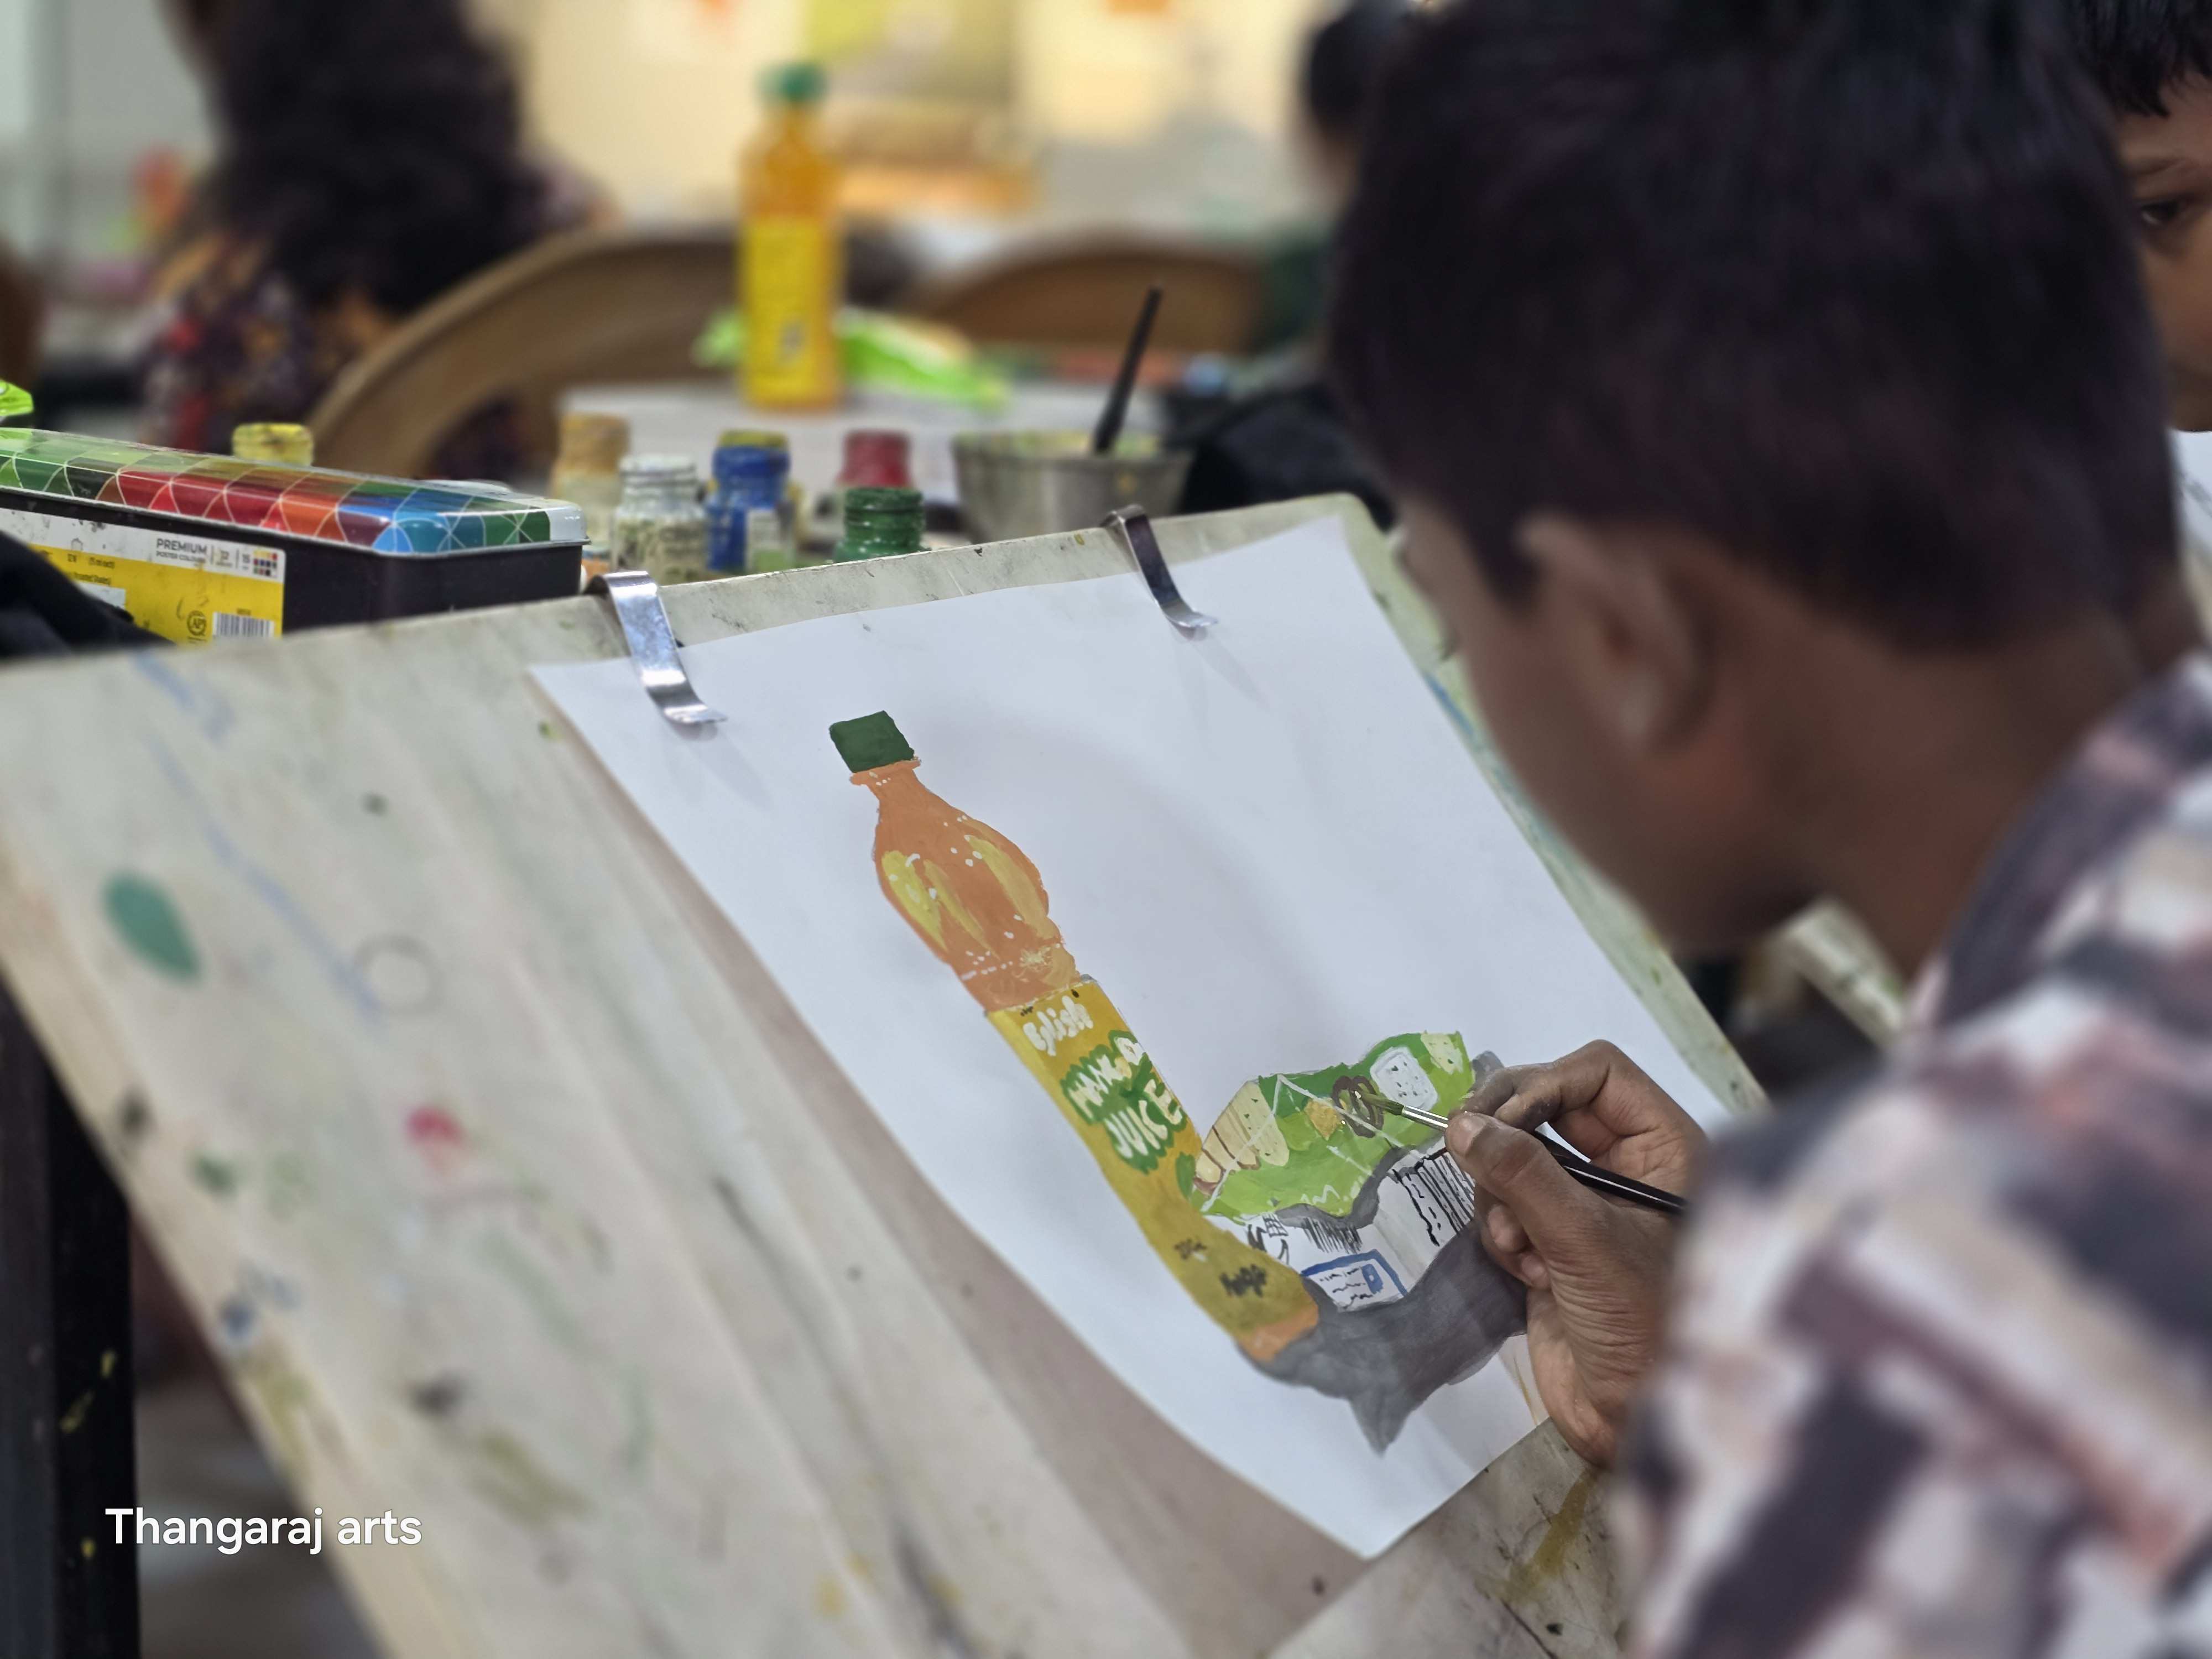
While tutorials provide valuable principles, mastering classical drawing, proportion, and tonal layering requires continuous personalized easel feedback. At Thangaraj Arts Academy in Dharavi, Mumbai, students work on individual wooden easels under the personal tutelage of Master Artist Thangaraj.
Batches are limited to 10 easels per session to guarantee dedicated attention. Weekend batches (Saturday & Sunday) run from 10:00 AM – 12:00 PM and 2:00 PM – 4:00 PM. New students can experience our teaching method firsthand through an introductory 90-minute trial session for ₹499 (fully credited toward your first monthly enrolment).
Explore full curriculum details and upcoming batch schedules on our Fine Art Classes in Mumbai page or visit our studio in Dharavi, near Bandra & BKC.